‘Email Marketing’ can mean a lot of things depending on what your role is in the marketing world. Many businesses just starting out end up blasting emails and offers when time permits — and then wonder why they’re not getting the kind of results they’re looking for. For many designers, integrators, consultants and agencies, it can be hard to get clients to go from doing business-as-usual promotional campaigns to building a more long-term, targeted email strategy.
But if we look toward the enterprise side of town (think J.Crew, Zappos, Nordstrom, etc.), we can see that email plus your shipping cart plus personalization based on customer activity can be so much more powerful — and believe it or not, kind of easy to do for your clients. Automation is just a way to get those enterprise-level email marketing results without all the enterprise-level fuss. Here are five easy steps to help your clients get results with email marketing.
Step 1 – Embrace email + Shopping Cart+ automation
What’s the advantage of integrating email marketing and embracing automation? Simply put, it means instead of always having to manually pull customer records, design, segment and test every time you want to send an email, you build what I like to call “workflows” or a series of automated emails for your clients.
This is not business-as-usual email marketing campaign work, nor is this an autoresponder based on a single trigger (although those certainly work). Automated workflows are multiple emails sent over a period of time that are always live and have several steps based on customer behavior, whether someone becomes a new customer, an existing customer makes another purchase, a customer decides not to purchase — hopefully you get the idea.
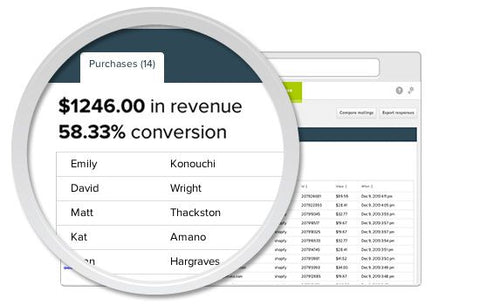
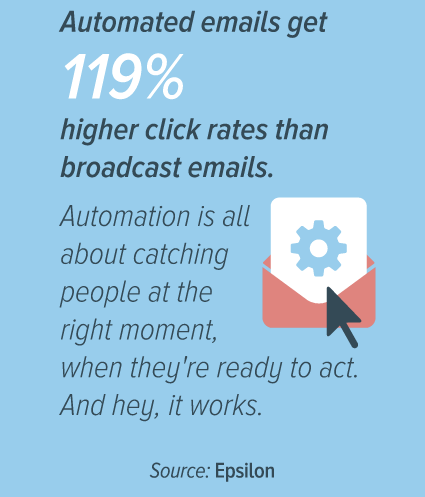
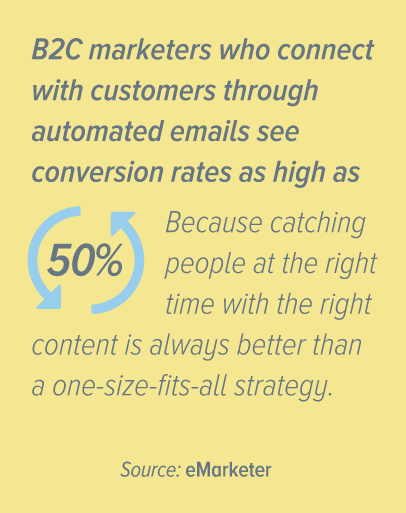
And they work. Automated emails create a more personal brand experience for customers by reaching them with a super relevant message at just the right time. And if, as a trusted advisor to a business, you bring them into the world of automated email and help drive more revenue or success, then you come out looking pretty smart and successful too.
Step 2 – Decide what kind of workflows to set up
For a lot of businesses, this is a new way of thinking about customer communication and planning. As such, it’s relatively new as a skill and something that is valuable to provide. So to begin, I suggest you make some time with the business and focus on their customer’s journey — and then determine the most important areas in which a workflow would benefit the business over the course of a year.
The challenges when you have this discussion will come down to three core areas:
- Does the business have an appetite for the workflow and goals?
- Is the data available in a way that can be used for automation?
- Can content be created and managed for ongoing use in a workflow?
If you can satisfy these areas, you will find yourself in great shape with the workflows you decide to create. Here are a few examples of automated workflows that you can easily build when you integrate email with your shopping cart:
- Welcome series or onboarding program for new email subscribers
- Re-engaging customers who haven’t purchased in awhile
- First-purchase series for new customers
- Customer loyalty or event programs
- Shopping cart abandonment
- And it goes on and on…
Okay, if you’re already thinking, ‘Shoot, I don’t know where to start,’ don’t try to do too much at once. Here’s a tip: start with a two-email welcome/onboarding workflow or a two-email post-purchase workflow and see how it works. These don’t necessarily require complex integration or external data, and are known to be more successful than doing nothing at all. As aspiring as you may be, just set up one or two max right now, and work on perfecting those. Once you get the hang of it and see how easy it is to get big results, you’ll become a workflow wizard in no time.
Step 3 – Map out your workflow components
Now it’s time to think about the nuts and bolts of a workflow. These components are:
- Content, calls to action and goals of individual emails and the workflow as a whole
- Design and layout of emails
- Timing of the emails and how they activate live
- How you are going to manage them live
But before you get started, don’t make the mistake of first deciding the number of emails to include in a workflow, and then deciding what content goes in each one. Instead, start with what you want to say, and then decide how many emails it will take to say it.
For example, here’s what the content might look like in a three-part welcome series:
- Welcome new customer!
- Tricks and tips for shopping with us
- Special offer for new customer
Once you have the content mapped out, then it’s time to consider the timing between emails. Your client’s sales cycle is what’s key here. If customers are more likely to buy within the first 48 hours of signing up, you may want to front-load your welcome series. If the sales cycle is longer, then you could space them out over the span of a few weeks. The great thing is that you can always adjust on the fly until you find the schedule that’s just right.
Step 4 – Build your automated workflow
The build cycle on workflows should be fairly straightforward based on all the planning and discussions so far. Here’s how you get organized and build your workflow using your shopping cart and Emma, for example.
Connecting your shopping cart and email (Emma)
Data is the most important part and the ‘jet fuel’ for your workflows. Depending on the email marketing tool you choose, you can use the integration or API to connect the two platforms and then make sure the data you need is syncing. For the welcome series example, you will want to make sure that every time a new customer signs up, that data is updated in the email platform and works well. This is your fuel, so make sure you get it right.
Email setup
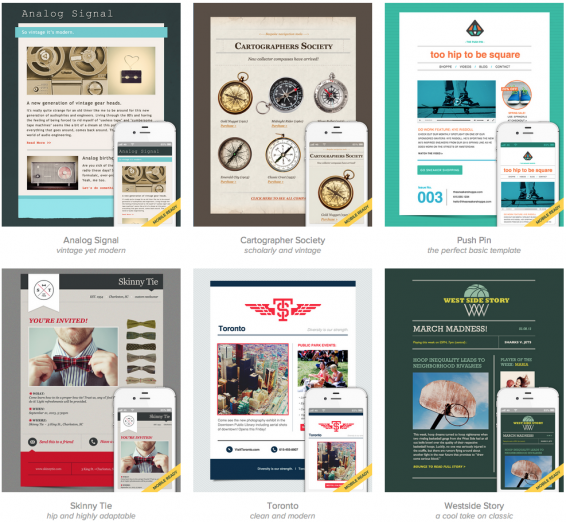
As with all of these workflow steps, don’t get stuck on this too much. You can use templates without having to do too much design work and then adapt and improve them as you test and learn. Using a welcome series workflow of two emails across two weeks, set up two emails from a template and make sure they are approved and personalized correctly for use. Once these are created and ready to go, you’re ready to set up the workflow automation.
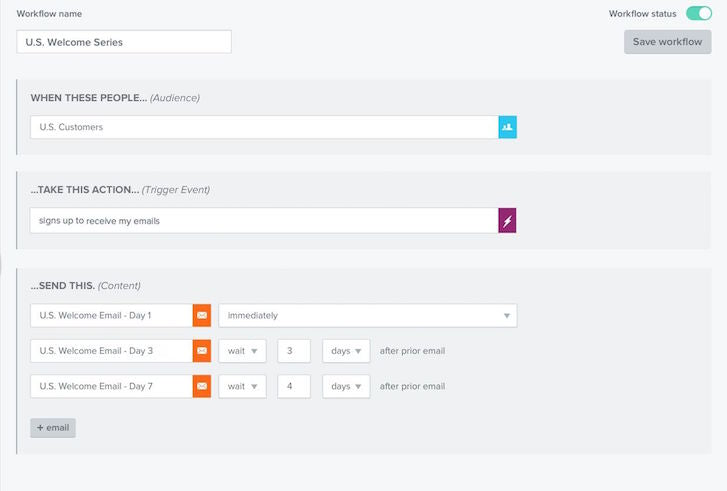
Automation setup and testing
Taking those approved templates, you can then set up the automation series you want and the timing to ensure they line up with your planning strategy (remember this from former steps!). This won’t take you long at all and requires no technical help. When you have tested this properly in-house and with your client, then you can go live!
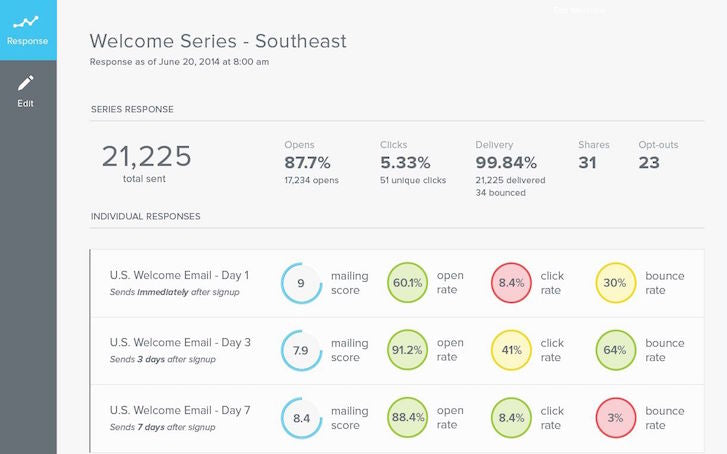
Step 5 – Test and monitor. Monitor and test.
When it comes to automation, you’ll often hear that you can “set it and forget it.” Sounds great, right? But don’t believe a word of it! The truth is that you need to always be monitoring and testing to get the best results for your client.
When you push the button to make your workflow live, the most important part of the job is just starting. Keep your client’s goals in mind and watch, learn, and advance these workflows continually to help your client get better and better. And as with all things that have data connectivity — you can’t just let them sit and expect them to work. Systems can be updated and changed over time, which could affect how your data and workflow may be working… so watch this closely.
And one final tip: Advise your clients to get moving now, and learn how to adapt and improve as they go. Every day they wait to start automating is another day that they’re potentially losing revenue, customers and market advantage. And hey, if you want a little more in-depth information on getting started with automation, check out this handy guide. It’ll walk you through the steps to get great results from automation right away. Or if you can make it, come out to the Marketing United conference to learn more about email and automation strategy and share ideas with some of the sharpest minds in the industry.
Good luck!
Credit: Shopify